How to Photograph a Total Solar Eclipse: Filters, Exposures, Phones
Keep a solar filter on your lens until totality, then take it off. Covers exposures for the corona, what phones can record and lenses for close-ups.
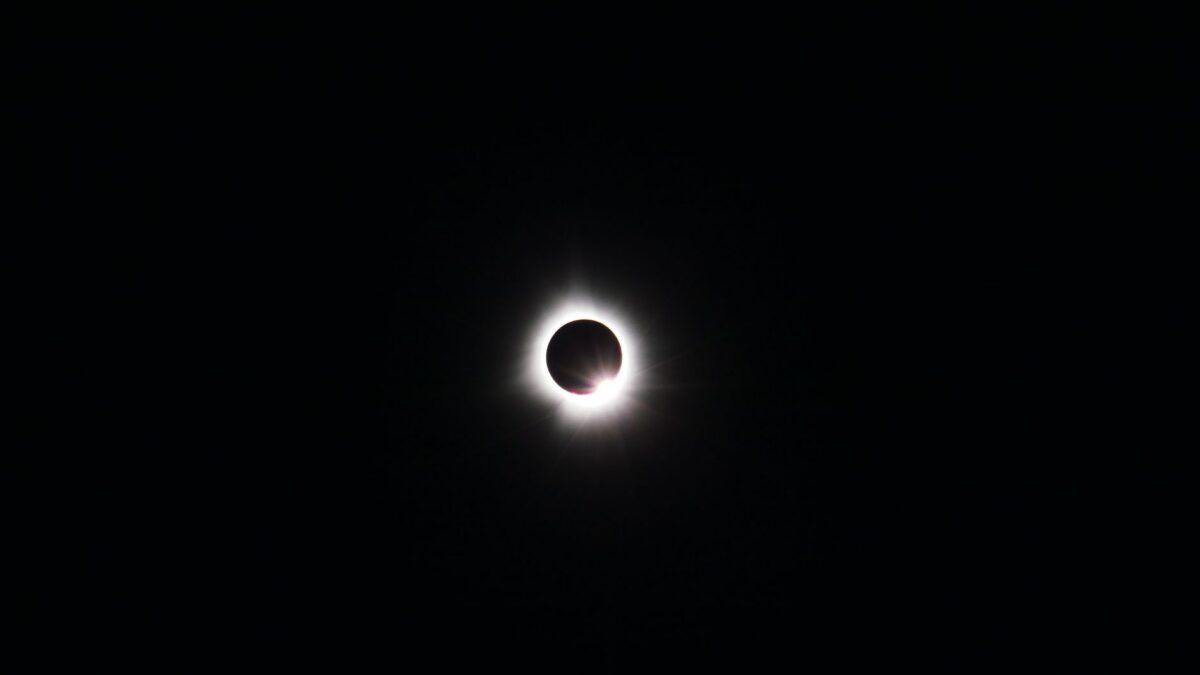
Keep a certified solar filter over the front of your lens for every partial phase, and take it off only once the Moon fully covers the Sun. The American Astronomical Society’s eclipse site treats that as the one rule of eclipse photography: filters stay on cameras and telescopes until totality, and a phone or a basic zoom camera is enough for scenic shots, while close-ups of the Sun need a long telephoto lens.
The advice below follows the imaging guide from the American Astronomical Society’s Solar Eclipse Across America site, NASA’s eclipse safety and viewing pages, and a reference entry on Baily’s beads. Sky conditions and your position relative to the path of totality decide what you can record, so plan for cloud and for a partial eclipse if you end up outside the path.
Should you photograph the eclipse at all?
Experienced eclipse chasers often tell first-timers to simply watch. There is a lot to see with your own eyes, and countless pictures and videos will be online afterward. The AAS guide accepts that most people now carry a smartphone and will want to record something, so it gives practical settings for those who do.
If you are on your first total eclipse and choose to shoot, set the camera up in advance so that almost nothing needs your attention during the brief window of totality. The guide’s advice to practice on the uneclipsed Sun in the days or weeks before applies to any camera. Put the solar filter on first, of course.
What filter do you need for the partial phases?
You need a special-purpose solar filter that fits snugly over the front of the lens, but not so tightly that you cannot pull it off quickly when totality begins. If the camera has no through-the-lens viewing, the viewfinder needs a filter too, because you would otherwise be looking at the Sun through it.
NASA’s safety page describes what makes a filter safe: it should transmit less than 0.003% of visible light and no more than 0.5% of near-infrared radiation. The same page lists shade number 14 welder’s glass and aluminized mylar made for solar observation as options. Gardening mylar and space blankets are not suitable. Our guide to solar filters for cameras, binoculars and telescopes goes through fitting and checking one.
Filters matter for your eyes as well as your sensor. NASA’s eclipse eye safety page explains that even when 99% of the Sun’s surface is covered, the remaining crescent can burn the retina, and that the damage is painless and shows up hours later. See also what solar retinopathy looks like.
Which lens or camera should you use?
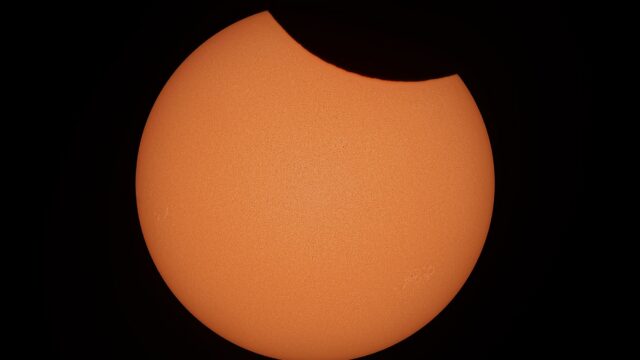
For scenery, a smartphone or a point-and-shoot camera is enough. With a decent zoom, some manual control and ideally image stabilization, you can record the partial phases through a filter, the falling light in the last minutes before totality, the glow around the whole horizon during totality, and even totality itself.
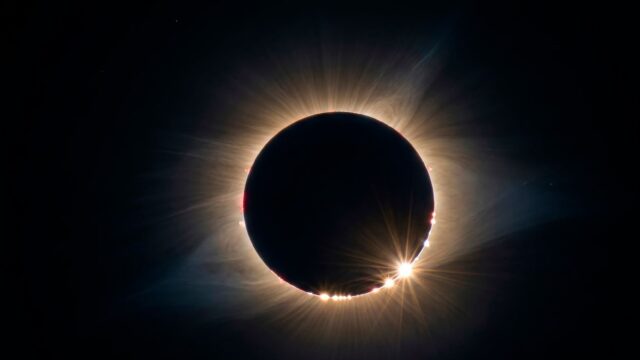
Close-ups are different. The AAS guide calls for a DSLR or mirrorless camera with a telephoto lens, or a point-and-shoot with a high-power zoom. A normal 50-mm lens or a wide-angle lens takes in the whole scene, but the eclipsed Sun is tiny in it, so you will not capture detail in the corona. To get a moderately large image of the Sun you need a focal length of at least 300 mm (35-mm equivalent). For Baily’s beads, diamond rings, the chromosphere, prominences and the corona up close, the guide recommends 1,000 mm or longer, which is telescope territory and best left to people with experience.
Several products now let phone cameras shoot through a proper solar filter. The AAS keeps a list of them under the smartphone section of its page on suppliers of safe solar filters and viewers. A phone does not need a telephoto add-on for a good landscape shot of the darkening sky.
What exposure settings work for the partial phases?
Pick one ISO and one aperture and change only the shutter speed. Around second and third contact the sky changes quickly, and you will already be busy removing and replacing the filter. Nobody wants to be changing three settings at that moment.
For a starting point, the AAS suggests manual mode, ISO 100 or 200 and f/8, with the filter on. Shoot a range of short exposures of the Sun, likely between 1/500 and 1/4000 second, and see which looks best. Compare a few frames shot in automatic mode as well. Do this on a sunny day ahead of time, then use the winning setting on eclipse day for the filtered partial phases.
How do you expose for the corona?
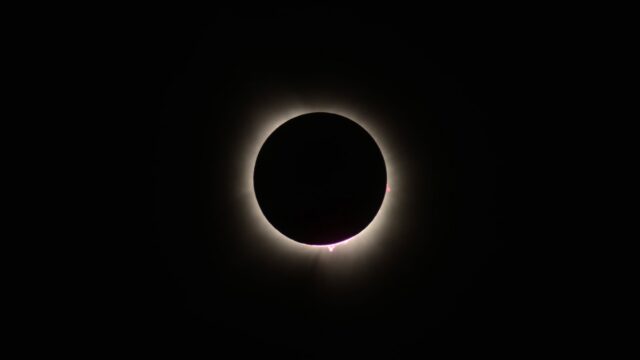
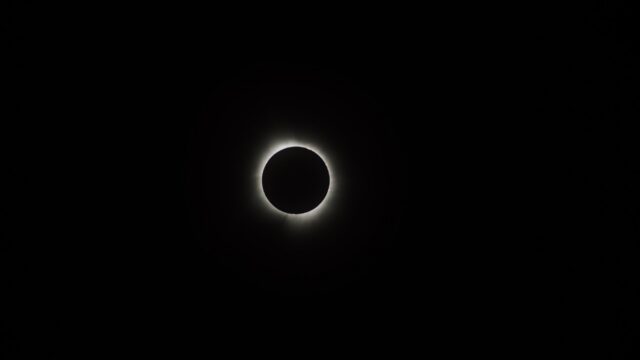
Use a wide range of shutter speeds. During a total eclipse the Sun’s brightness changes by orders of magnitude between the partial phases and totality, and the corona itself is far brighter close to the Sun than farther out. One exposure that works for the partial phases will not capture everything in totality.
That is why the AAS recommends keeping ISO and aperture fixed and varying only the shutter speed. If your camera supports bracketing, which automatically takes a series of exposures at different speeds, it fits this job well. Short exposures hold the bright inner corona, and longer ones show its fainter outer streamers. The AAS page on Jubier’s Shutter Speed Calculator for Solar Eclipses, written by software developer Xavier Jubier, also shows how big the Sun will appear for different cameras, sensors and focal lengths.
What should you shoot at the edges of totality?
The brief moments just before and after totality are the most photogenic and the most hazardous. Baily’s beads appear when sunlight shines through valleys on the Moon’s rugged edge. As the beads vanish one by one, the last one forms the diamond ring. The beads last a few seconds at the center of the path, up to around 90 seconds near the edge of the path.
Beads and the diamond ring still show the bright photosphere, so they are not safe to look at, or to shoot, without eye protection and the filter. NASA’s eclipse guide tells viewers to keep their eclipse glasses on through the diamond ring and not to remove them until the diamond ring disappears and no direct sunlight remains. Put protection back on before the first flash of sunlight appears at third contact.
NASA also notes that shadow bands, long dark bands moving across buildings or the ground just before and after totality, can be very faint and hard to photograph. Totality may last only a minute or two in some places, so rehearse the order of your steps. A minute-by-minute look at what happens during a total solar eclipse helps you plan the sequence.
Tips for shooting the eclipse
- Practice on the Sun in the weeks before, with the filter on, to learn how much of the frame it fills.
- Check your owner’s manual or the manufacturer’s site if you do not know your lens’s 35-mm equivalent focal length.
- Use a tripod and fixed ISO and aperture so you only touch the shutter speed.
- Leave the filter easy to remove, and put it back on before the Sun reappears.
- Look up from the screen during totality. NASA suggests noticing the 360-degree sunset glow, bright stars or planets, and the drop in air temperature.
Where to check
The AAS Solar Eclipse Across America imaging page and NASA’s eclipse safety and viewing pages from the sources above stay current on filters, exposures and eye safety.
Based on the sources linked above, November 2026.
Site editor: Nikita Sheikin